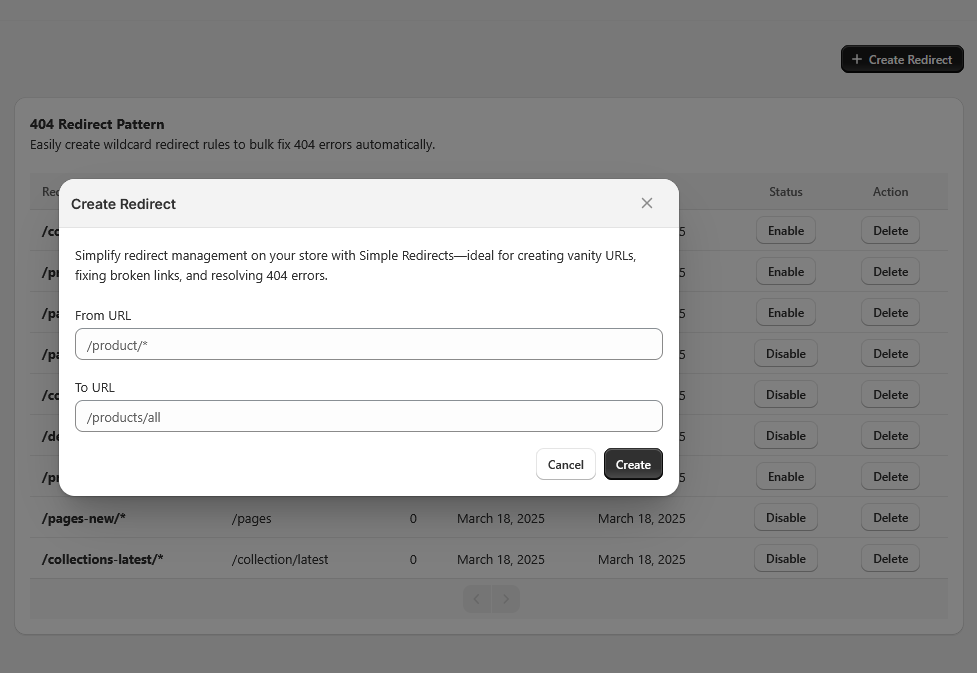
How to create a redirects pattern?
The Rules feature in Swift lets you automatically generate redirects using smart pattern matching. Each rule includes a matching pattern for identifying broken or changed URLs and a corresponding target path to redirect them to. These rules apply to all incoming 404s—whether they come from manual CSV uploads, real-time 404 tracking, or proactive monitoring.
When set up strategically, these automation rules can handle most redirect scenarios for you—so you’ll rarely need to manage errors manually.
Patterns in Redirect Rules
The first step in setting up a redirect rule in Swift Redirects & 404s is defining the pattern—this determines which URLs the rule will apply to. There are two supported types of patterns:
- Wildcard patterns (easy to use)
- Regular expressions (regex) for more advanced matching
Unlike filters, redirect patterns must match the entire URL path—from start to finish.
Wildcard Patterns (Beginner-Friendly)
Wildcard patterns use the * symbol to represent any string of characters. This makes it easy to match a group of similar URLs without listing them individually.
For example, the pattern:
/blogs/old-name/*
Would match:
/blogs/old-name/meet-the-team/blogs/old-name/our-story/blogs/old-name/how-we-support-local-businesses
Since rules must match the full path, you can also use * at the beginning or end to capture partial matches anywhere in the URL. For instance:
*collections*
Will match any path that contains the word “collections,” regardless of where it appears.
Use wildcard patterns when you need fast, simple matching without writing complex code. For more precision or dynamic replacements, consider regex patterns.
Regex Patterns
Regular expressions (regex) offer powerful flexibility for advanced redirect matching. While they can be a bit technical at first, learning the basics is easier than you might think—and well worth it for complex URL structures. Instead of covering everything here, we recommend starting with a beginner-friendly regex guide to get up to speed quickly.
Example with Regex Pattern
Redirect From Pattern:
/\/(testing\/.*)$/iRedirect To Pattern:
/products/$1This redirect rule is designed to match any URL path that begins with /testing/ (case-insensitive), capture the entire subpath after that, and then redirect it by replacing the /testing/ part with /products/ while preserving the rest of the URL path.
These dynamic references make it easy to redirect groups of URLs without manually creating each one—perfect for large-scale migrations or blog restructures.
Real-World Example
Let’s say you've deleted several products that were linked within collection URLs, like:
/collections/summer-sale/products/red-sandalsInstead of letting those broken links lead to 404 errors, you want them to redirect to the main collection page, like:
/collections/summer-saleHere’s how to do it using a wildcard rule in Swift Redirects:
| Pattern: | /collections/*/products/* |
|---|---|
| Target path: | /collections/$1 |
In this rule, \1 captures the collection handle (like summer-sale) and uses it in the redirect.
Things to Keep in Mind
Redirects Happen in Real Time — Even in the Browser
When a visitor lands on a 404 page that hasn't yet been logged, Swift Redirects will automatically apply any matching rule right in the browser. This means the user is redirected instantly—even before the error is officially recorded.
Once the redirect is triggered, live tracking picks up the 404, and a permanent redirect is automatically added based on your rule.
Note: For this instant behavior to work, all redirect rules must be publicly accessible so the browser can read and apply them immediately.
Existing 404 Paths Are Instantly Matched
When you save a new rule, any existing 404 paths already in your list that match the pattern will be auto-redirected. No extra steps needed.
What Happens if Multiple Rules Match?
If more than one rule applies to a single path, the first matching rule in your list will be used to create the redirect.
